실제로 정보를 저장하기 위해서는 데이터 베이스 시스템이 필요합니다.
고객을 위한 데이터베이스를 생성합니다. table명은 management입니다.
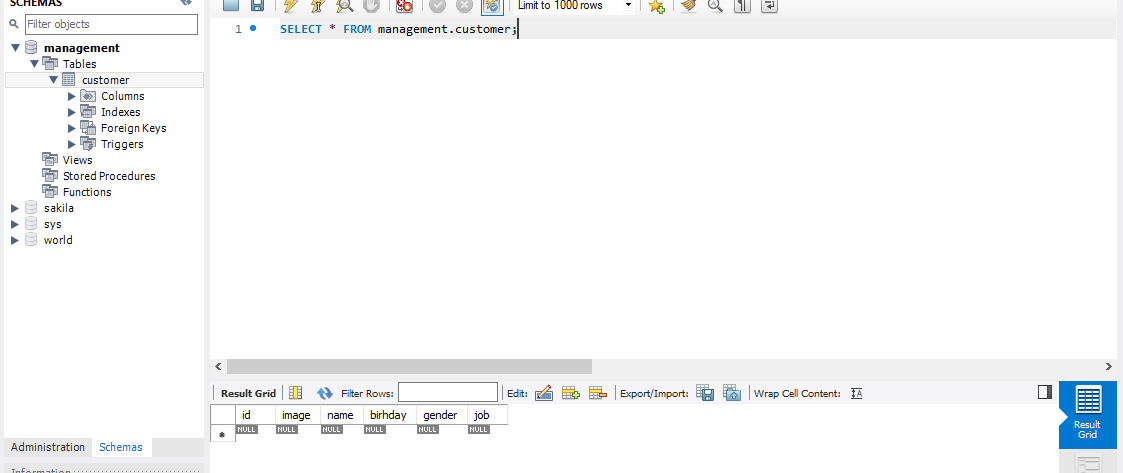
이제 하드코딩된 정보를 데이터베이스에 넣습니다.
 res.send([
        {
        'id' : 1,
        'image' : 'https://placeimg.com/64/64/1',
        'name' :"홍길동",
        'birthday' : '951006',
        'gender' : '남자',
        'job' : '학생'

      },
      {
        'id' : 2,
        'image' : 'https://placeimg.com/64/64/2',
        'name' :"이순신",
        'birthday' : '942006',
        'gender' : '남자',
        'job' : '대장'

      },
      {
        'id' : 3,
        'image' : 'https://placeimg.com/64/64/3',
        'name' :"을지문덕",
        'birthday' : '913006',
        'gender' : '남자',
        'job' : '시민'

      }

      ]);
다음과 같이 데이터베이스에 고객 테이블에 정보를 넣습니다.
이제 NodeJs와 MySQL을 연동할 차례입니다.
npm install --save mysql 명령어로 모듈설치를 진행합니다.
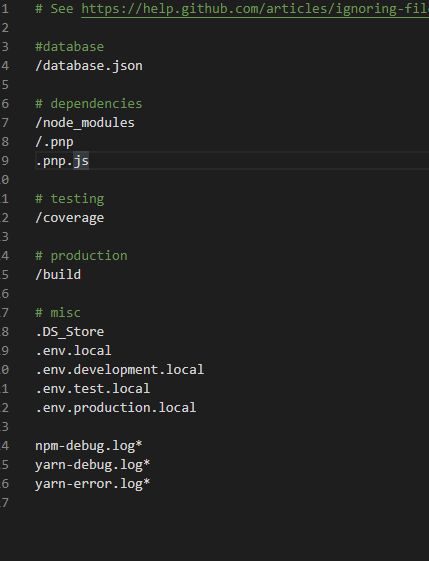
이제 database의 설정 정보를 저장할 database.json 파일을 생성한 뒤 gitignore의 추가해줍니다.
{
    "host" : "host",
    "user" : "id",
    "password" : "****",
    "port" : "3306",
    "database" : "management"

}
에러 발견
Let's first make it clear what's going on.
MySQL 8 has supports pluggable authentication methods. By default, one of them named caching_sha2_password is used rather than our good old mysql_native_password (source). It should be obvious that using a crypto algorithm with several handshakes is more secure than plain password passing that has been there for 24 years!
Now, the problem is mysqljs in Node (the package you install with npm i mysql and use it in your Node code) doesn't support this new default authentication method of MySQL 8, yet. The issue is in here: https://github.com/mysqljs/mysql/issues/1507 and is still open, after 3 years, as of July 2019.
UPDATE June 2019: There is a new PR in mysqljs now to fix this!
UPDATE Feb 2020: Apparently it's scheduled to come in version 3 of mysqljs.
UPDATE July 2020: Apparently it's still not in yet (as of April 2020 at least), but it's claimed that node-mysql2 is supporting Authentication switch request. Please comment below if node-mysql2 is working fine for this issue -- I will test it later myself.
즉 MySQL 8은 더욱더 암호화된 mysql_native_password를 지원하게되었다. 하지만 문제점은 npm에서 설치해준 mysql은 native password를 지원하지 않게 되어서 문제가 발생하는데. 이에 대한 해결방법은 다음과 같다.
1. MySQL install에서 server를 들어가 reconfigure -> AUTH -> legacy설정을 해준다.
2. mysql2를 npm에서 설치한 다음 실행한다. mysql2 플러그인은 지원됨
const mysql = require('mysql2');
const fs = require('fs');
const express = require('express');
const bodyParser = require('body-parser');
const app = express();
const port = process.env.PORT || 5000;
app.use(bodyParser.json());
app.use(bodyParser.urlencoded({ extended : true}));

const data = fs.readFileSync('./database.json');
const conf = JSON.parse(data);
const mysql = require('mysql2');

const con = mysql.createConnection({

    host : conf.host,
    user : conf.user,
    password : conf.password,
    database : conf.database,
    port :  conf.port

});
con.connect();

app.get('/api/customers', (req,res) =>{

    con.query(
        "select * from customer",
        (err, rows, fields) => {
            res.send(rows);
        }
        );
});

app.listen(port ,  ()=> console.log(`Listening on port ${port}`));

실행결과는 다음과 같다.
'FrontEnd > React' 카테고리의 다른 글
| Express Server에서 처리하기 (0) | 2020.07.13 |
|---|---|
| 이벤트 처리 (0) | 2020.07.13 |
| React의 라이프사이클 , API 로딩처리 (0) | 2020.07.12 |
| Window에서 리액트와 Node.js서버 실행시키기 (1) | 2020.07.11 |
| Node.js express (0) | 2020.07.10 |


댓글